![TW Blue Logo 230908a.png]](https://help.trakwell.ai/hs-fs/hubfs/TW%20Blue%20Logo%20230908a.png?width=126&height=17&name=TW%20Blue%20Logo%20230908a.png)
When you click on a customer photo on the Floorboard, a window will open with a row of tabs along the top. Each tab lets you take a different action on that customer.
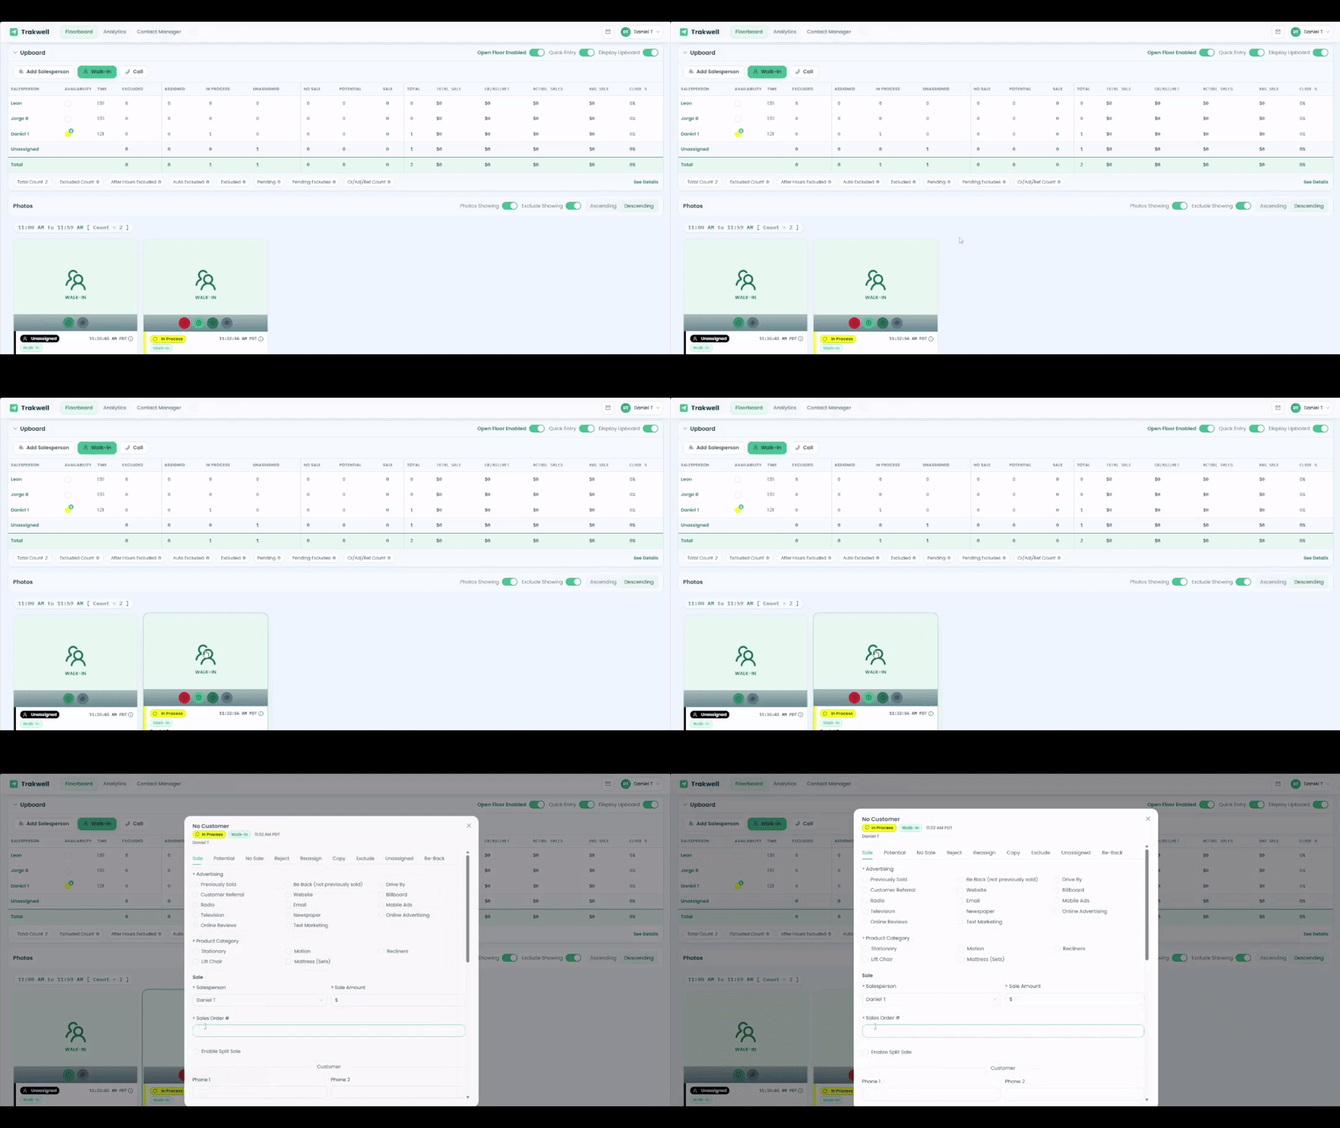
The tabs you see will depend on the photo's current status:
-
If the photo is Unassigned, it has not been claimed by a salesperson yet.
-
If the photo is In Process, a salesperson is currently working with that customer.
Note: The options shown in each section — such as Advertising, Product Category, No Sale Reason, Reject Reason, and Exclude Reason — may vary depending on your store's setup. Your screen may look a little different from the examples in this article.
Table of Contents
Accept (Available on Unassigned photos only)
This is the first tab you will see when clicking on a photo that has not been claimed yet.
Clicking Accept assigns the customer to you and moves them to In Process so you can start working with them.
Sale
Use this tab to record a completed sale.
Fill in the following required fields:
-
Advertising — How did the customer hear about your store? Pick one option.
-
Product Category — What did the customer buy? You can pick more than one.
-
Salesperson — Who made the sale?
-
Sale Amount — How much was the sale?
-
Sales Order # — Enter the order number from your POS system.
-
First and Last Name — Enter the customer's name.
-
Contact Information — Enter at least one: a phone number, email address, or physical address. If you start typing a street address, Trakwell will suggest the full address for you — just select it and it will fill in automatically.
Optional fields:
-
Add-on Items — If your store uses add-on items (such as warranty, protection plans, or other custom add-ons configured by your company admin), you can enter the amounts here.
-
Enable Split Sale — Turn this on if the sale is being shared between two or three salespersons. You will be able to select the salespersons involved and choose how the sale is split. Note that a salesperson does not need to be in the current rotation to be included in a split sale.
-
Comment — Add any notes about the sale.
-
File Attachment — Attach a file if needed. Accepted file types: CSV, DOC, DOCX, TXT, XLS, XLSX, JPG, JPEG, PNG, MP4, MOV, MPG, PPTX, PDF.
When you are done, click Record Sale (or Record Split Sale if you enabled the split sale option).
Potential
Use this tab when a customer showed interest but did not buy. This keeps the opportunity open for follow-up.
Fill in the following required fields:
-
Advertising — How did the customer hear about your store? Pick one option.
-
Product Category — What was the customer interested in? You can pick more than one.
-
Salesperson — Who worked with the customer?
-
First and Last Name — Enter the customer's name.
-
Contact Information — Enter at least one: a phone number, email address, or physical address.
Optional fields:
-
Quote Number — A reference number for the potential sale. This field may not appear for all users — it depends on your store's POS integration with Trakwell.
-
No Sale Stage — How far did the interaction go? Choose from: Greeting, Building Relationship, Demo, or Close.
-
No Sale Reason — Why didn't the customer buy? Choose the closest reason.
-
Potential Value — What would the sale have been worth?
-
Probability — How likely is this customer to come back and buy? Choose Low, Medium, or High.
-
Potential Options — Select a follow-up action, such as Will Call Customer, Will Email Customer, or Customer Will Call. Once you pick one, you will be asked to choose a date and time for the follow-up. Time is selected in 15-minute intervals.
-
Comment — Add any notes.
-
File Attachment — Attach a file if needed. Accepted file types: CSV, DOC, DOCX, TXT, XLS, XLSX, JPG, JPEG, PNG, MP4, MOV, MPG, PPTX, PDF.
When you are done, click Record Potential.
No Sale
Use this tab when a customer visited but did not buy and is not expected to return.
Fill in the following required fields:
-
Advertising — How did the customer hear about your store? Pick one option.
-
Product Category — What was the customer interested in? You can pick more than one.
-
No Sale Reason — Why didn't the customer buy? Choose the closest reason.
You can also add an optional Comment before clicking Record No Sale.
Reject (Available on In Process photos only)
Use this tab if you are assigned to this customer but cannot help them right now.
Select a reason from the list — for example, you might be busy with another customer, on the phone, or in a meeting. Then click Reject Photo.
Once rejected, the customer will be passed along to the next available salesperson. How that works depends on your store's Open Floor setting:
-
Open Floor on — The photo goes back to the unassigned pool.
-
Open Floor off — The system automatically assigns it to the next salesperson in the rotation.
Reassign
Use this tab to send this customer directly to a specific salesperson.
Pick a salesperson from the dropdown and click Reassign. The customer will be assigned directly to them, skipping the rotation.
Copy
Use this tab to create a second copy of this photo.
Clicking Duplicate Photo creates a duplicate of the opportunity in Unassigned status. This is helpful when a camera photo captures more than one customer — you can duplicate the photo so each customer can be logged separately.
Exclude
Use this tab to remove this photo from your store's traffic count.
Select an Exclude Reason from the list — for example: Duplicate, Employee, Pickup, Service, Vendor, Delivery, or Shadows/Ghosts. You can also add an optional comment. Click Exclude Photo to submit.
Unassigned (Available on In Process photos only)
Use this tab to release a customer back to the unassigned pool.
Clicking Set as Unassigned removes the current salesperson assignment. The photo will go back to unassigned status and can be claimed again.
Be-Back
Use this tab to mark a customer as a Be-Back — someone who has visited your store before and is returning to work with the same salesperson.
Select the salesperson from the Assign To dropdown and click Mark as Be-Back. It is important to log Be-Backs in Trakwell so the system can track return visits accurately in your reports.
Still having trouble?
Contact us at support@trakwell.ai or call 833-503-9934.